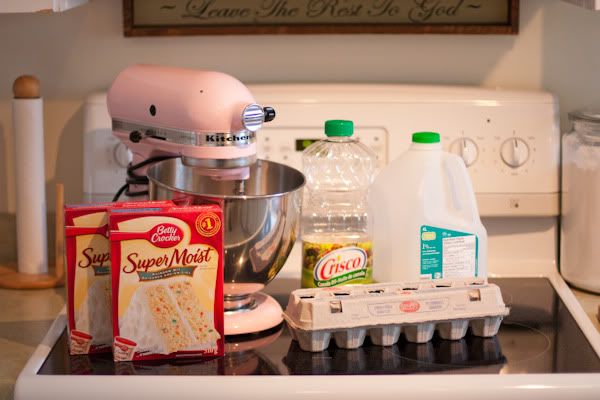
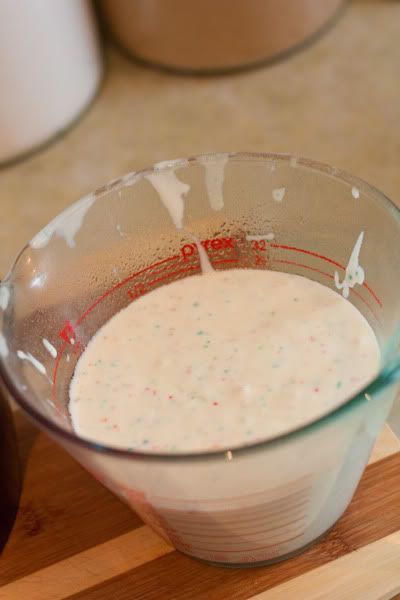
I mixed up the cake mix and distributed it between the two pans.....
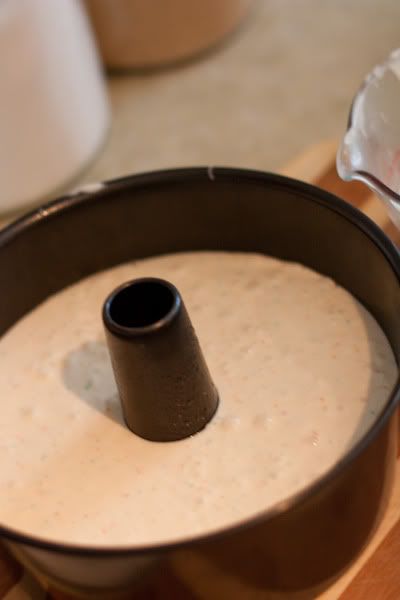
I think I should have mixed in some flour to firm up the cake a little to make it easier to work with.
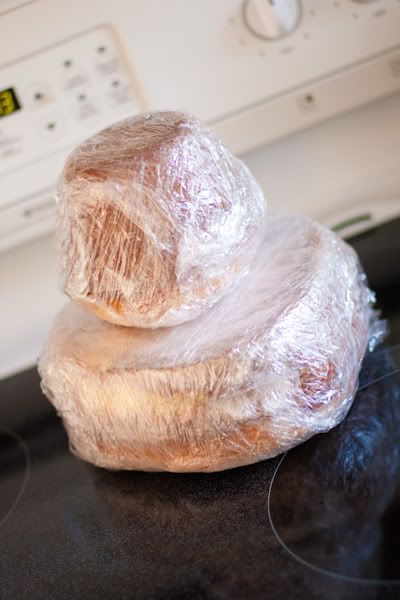
I made the cakes a couple days ahead so I wrapped them REALLY well with plastic wrap and put them in the freezer. On Thursday afternoon, I took them out and while they were still frozen, started shaping them.
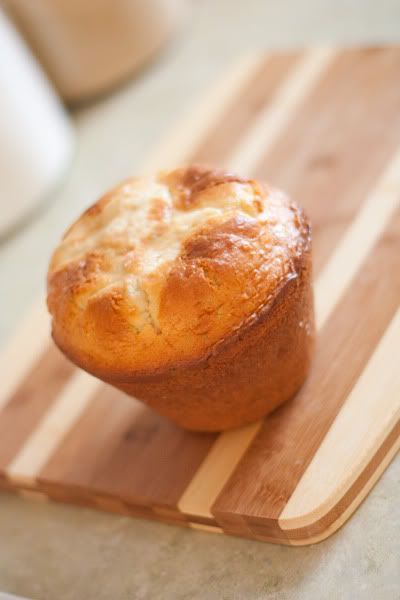
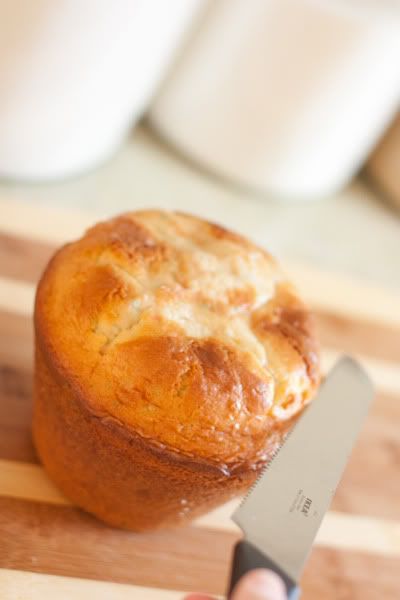
.....just like that!
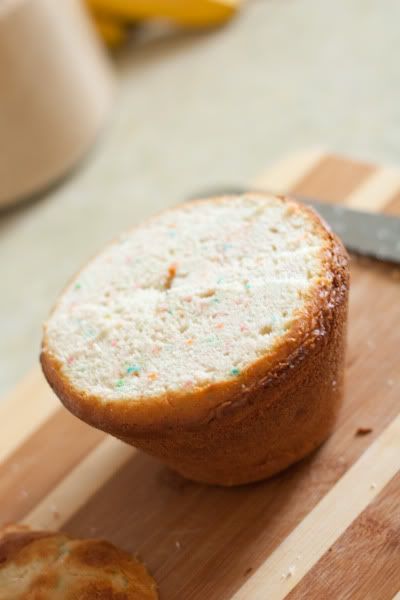
Then I did the same for the larger cake. This is where I ran into major crumbly cake issues. It just seemed (as you can see) to not want to stay together!
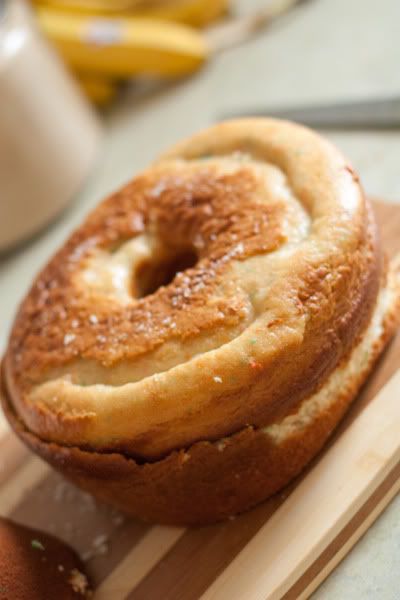
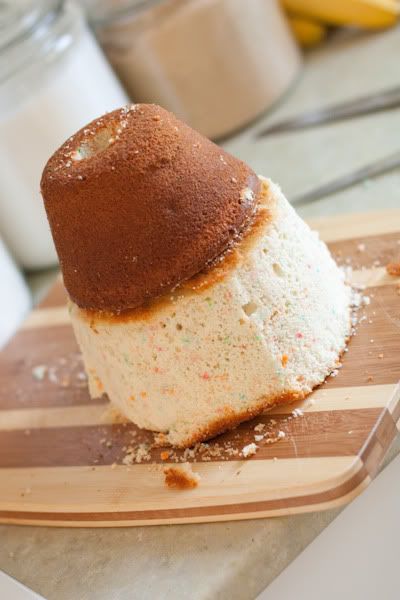
Then I placed the smaller cake upside down on the narrower part of the larger cake. I then took a large serrated knife, and keeping with the angle of the smaller cake, I cut around the bottom cake and ended up with this.....
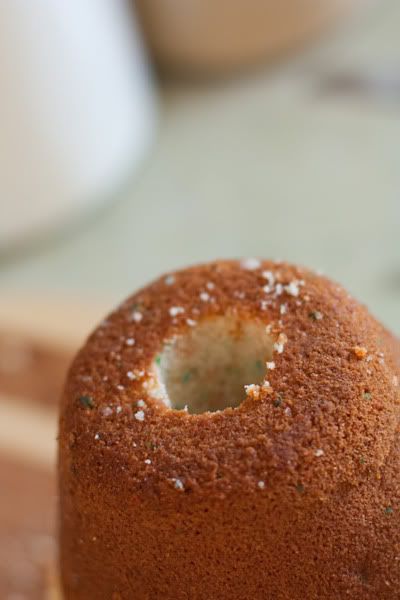
Then I cut a hole in the top of the small cake for the doll to be inserted into.....
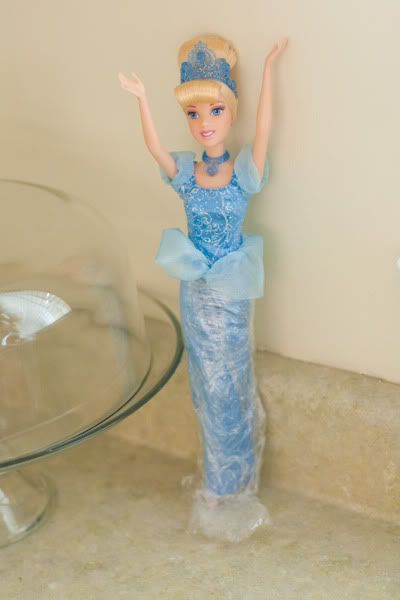
Then, while I re-whipped my buttercream icing (made the day before) I took a second to wrap my Cinderella Barbie's lower body to keep it from getting ruined by icing.
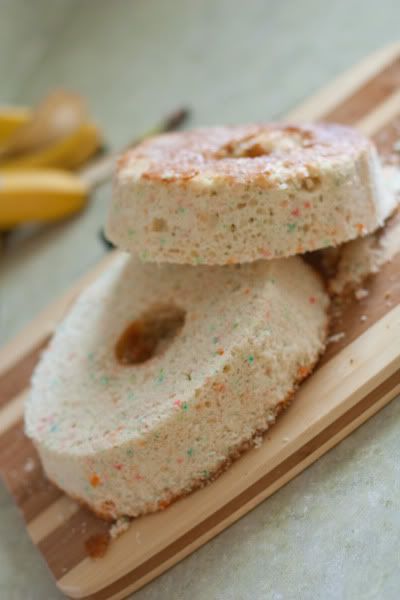
In order to get in another layer of icing in, I cut the bottom layer in two.....
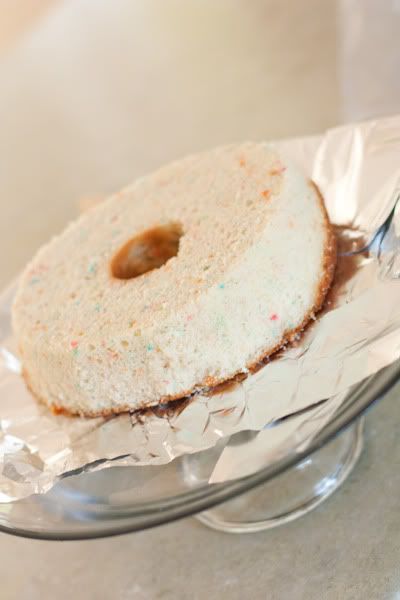
I used my glass cake platter and placed the lowest layer near the back (so I'd have room for three cupcakes) and then wriggled some tin foil underneath to keep the plate clean during icing.
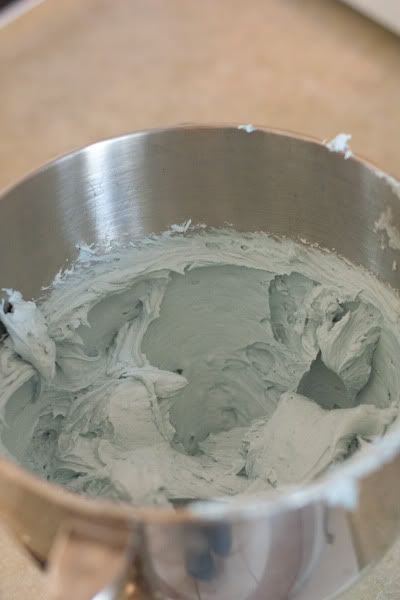
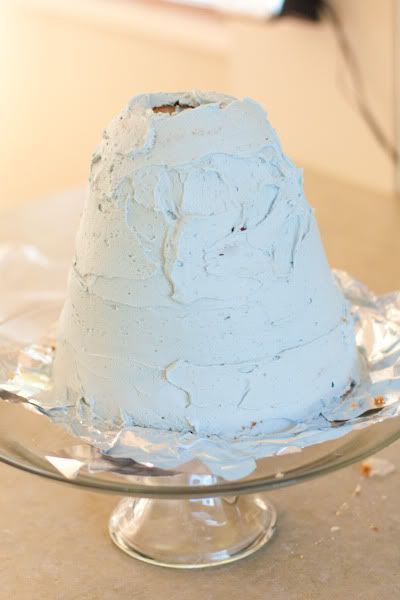
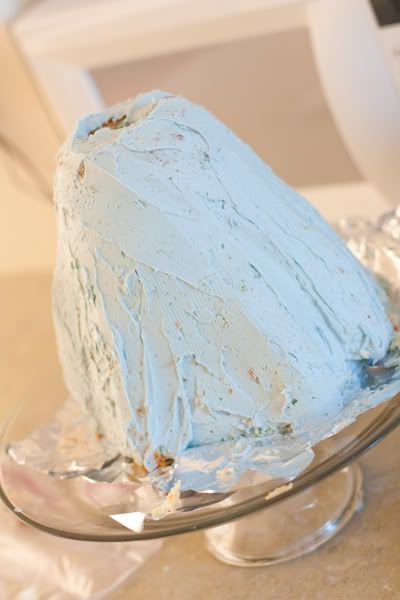
ThenIwenticingcrazyandforgottotakeanypicturesoftheprocess. Phew. This is post icing.....it's a crumby crumb-coat, I know, dang crumbly cake.
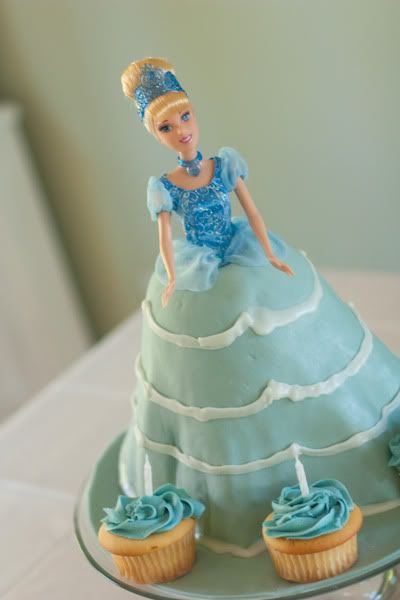
I got his idea from a "How To...." channel on YouTube. I used pieces of the carved cake to create pleats, that once the fondant was laid, would create a full look to the dress.
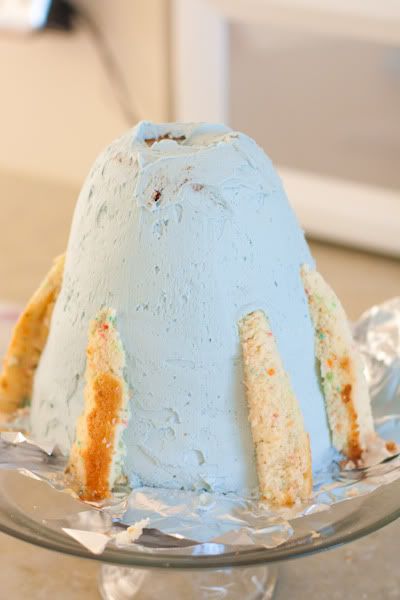
The finished icing project.
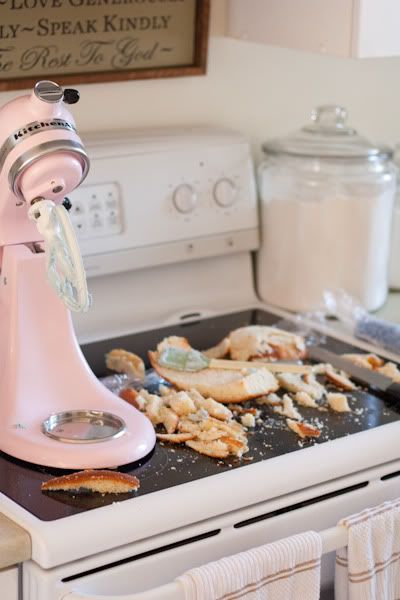
Just a little "real life" shot of my kitchen.
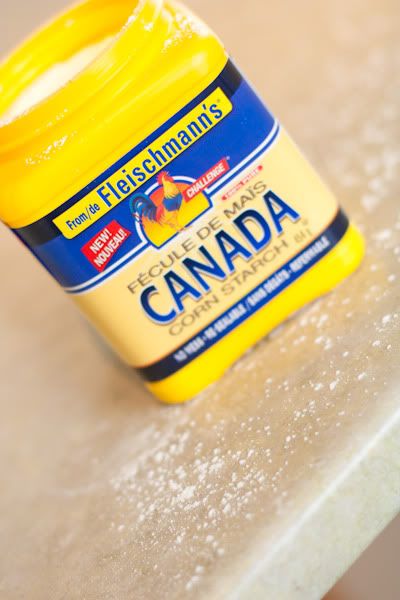
The next morning (the day before the party) I brought the pre-made marshmallow fondant (that I also dyed a lovely blue) our of the freezer a while before I planned to work with it so it wasn't rock solid. I was told numerous times to use copious amounts of corn starch on the counter and I'm glad I listened. I used some on my hands and rolling pin as well so I didn't have any issues.
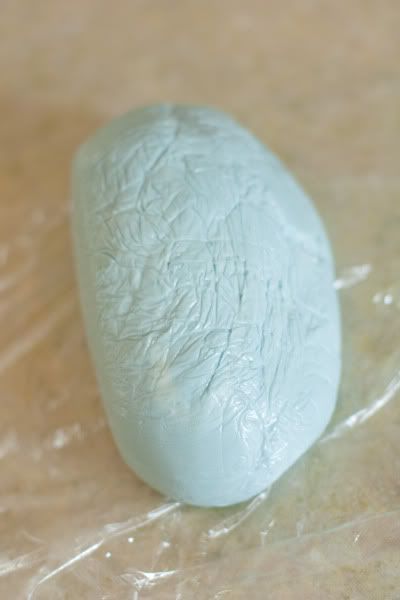
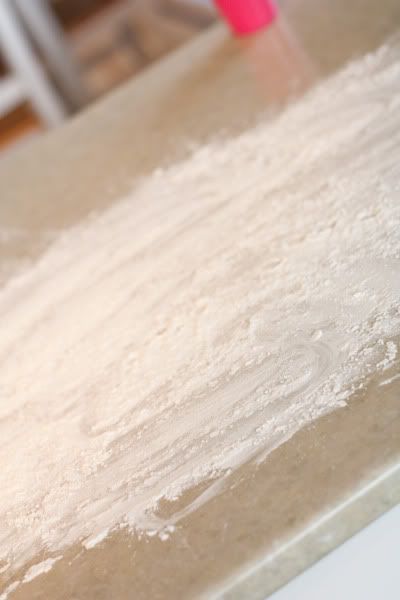
Then I evenly rolled the fondant until it was about 1/4 of an inch thick......
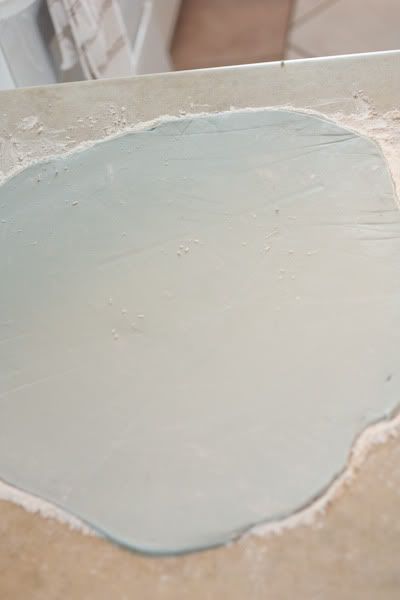
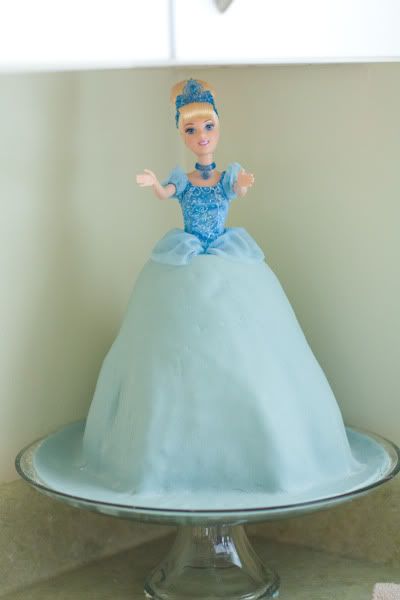
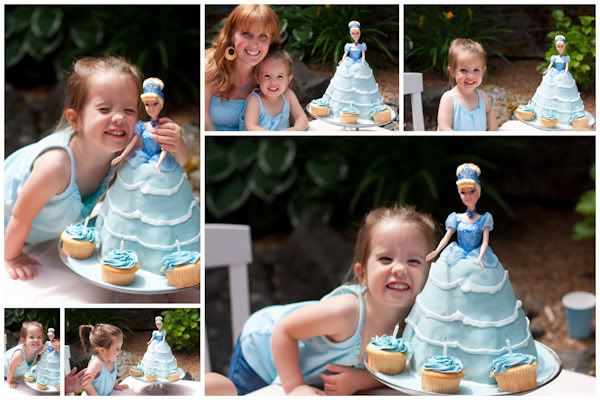
Then I got my hands and arms underneath it for support, and draped it over the iced cake. I smoothed it out, used a pizza cutter to trim the edges (up to the edge of the platter, not the base of the dress) and then used a dry, rough cloth to get rid of the starch residue and then squished Cinderella in! The reason I left the bouffant out of the plastic wrap was so that it could sit overtop of the fondant and make the transition from doll to dress a little smoother. I used sewing needles to discretely pin then down.....


4 comments:
That's amazing! I think I know what I'm going to be making for Sonia's third birthday
This is beautiful, Christy! You must have been exhausted afterward! I'll definitely do this for Heidi once she's old enough to appreciate it. :)
Wow! Awesome job! So special for your daughter :)
AMAZING! Your creativity is inspiring! What a beautiful cake for your daughter. I love how she is hugging her cake - she looks so pleased!
Post a Comment