I think I heard a sound like that of a rusted-over, never-used door on an abandoned house when I hit the "New Post" button.
And I'm sure it took the page an extra few seconds to load because it had to remember how to do it.
It's been almost a month and I can't even say that I've "got lots of catching up to do", so I'm just going to jump right back in.
I've hated my laminated, magnet-mounted fridge calender for a while. It always felt cluttered and I was never able to put photos and other things anywhere because it took up the whole freezer door.
Enter: inspiration & pinterest.
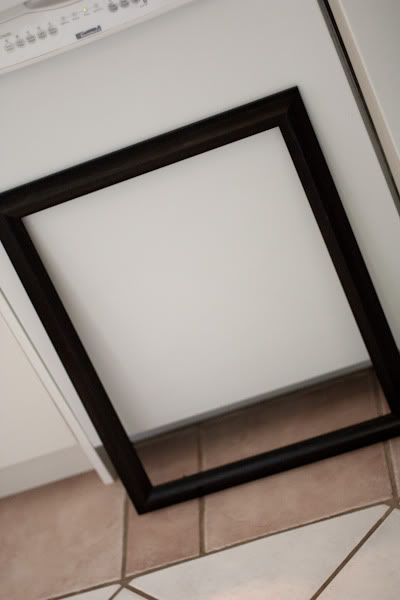
I had a few empty, glassless frames sitting in my shed waiting for my church's next youth garage sale fundraiser, one of which was rescued to feed my crafting addiction. This one is 16x20 inch frame and I think it's the absolute perfect size for this project.
I had a box in the carport that I cut to size for a back. The cardboard ended up being too thick, so I had to separate the two sides: surprisinglytheraputic.
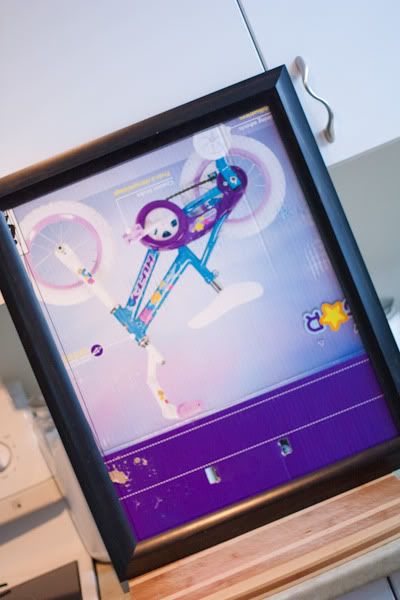
Once the cardboard was stuffed in the back, I traced a line, from the front so I would know exactly how much space I would have. Then came the trial and error, trying to get the squares as big as possible so I would have lots of writing space.
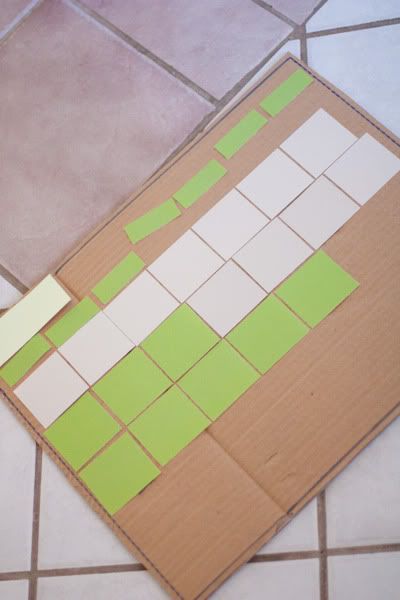
I had my measurements, now I needed paint chips. Blue and greens ones.....lots of them. I tried Rona, and couldn't find chips big enough. So I tried Canadian Tire and was in luck. They had a new Benjamin Moore paint line they are selling and the chips were huge and perfect. You'll need at least 35 but I would recommend getting 40 or more. I found that some of the blues and greens I chose looked very yellow or very grey or very beige compared to the overall look so it's good to have more than you need so you can get a cohesive look.
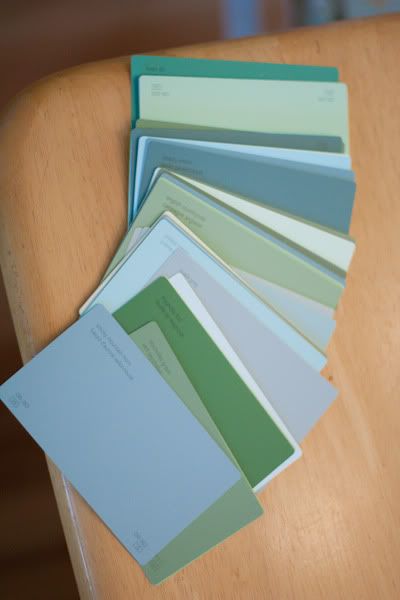
Then comes the chopping. Be sure to cut off the edges with the writing on them before you start cutting them down to your measurements. You will then end up with a huge pile of scraps.
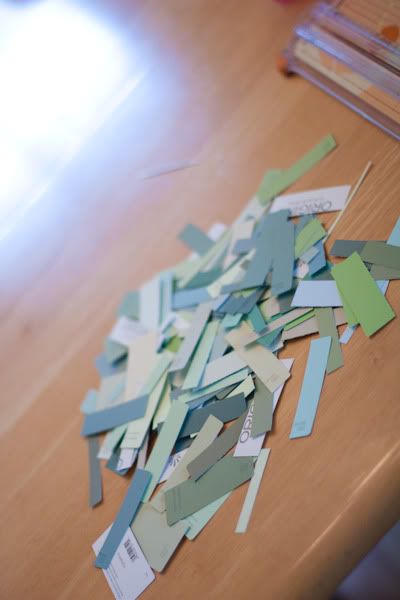
This is where I am the worst tutorial writer EVER. I get carried away because I'm just so darn excited to see my finished product, that I forget to take photos. I went out and spent $1.84 on two large pieces of white bristol board from Walmart to use as a solid background. I cut it down to size and put it inside the frame, on top of the cardboard so I could start sticking down my squares exactly where within the border of the frame. Then.....stick away! I made sure I had a good balance of light and dark all over the board. Then for the day of the week, I cut out seven one inch by 2 7/16 inches and place them at the top of the columns as well as a piece (that you can make as long as you want) to write the month.
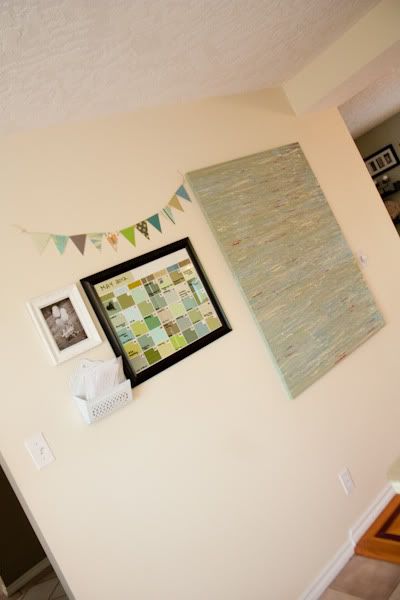
This wall previously only consisted of the painting hanging horizontally by itself. I had nowhere else to put it and nowhere else to hang my new calender, so it was a layout game trying to figure out how to make everything work together. I made a quick pendant banner from scrapbooking paper and twine to add a funky detail and with a photo of my cute girlies and my vintage mail slot......wall complete!
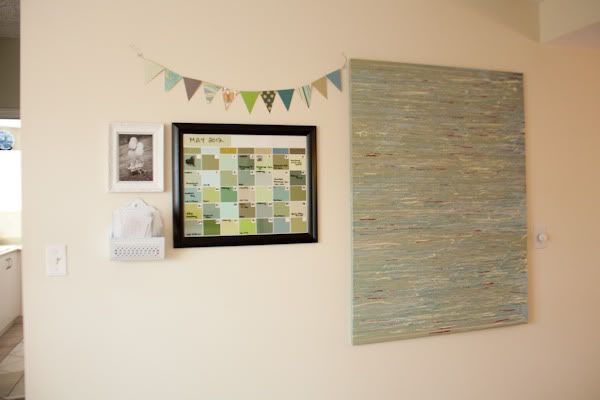
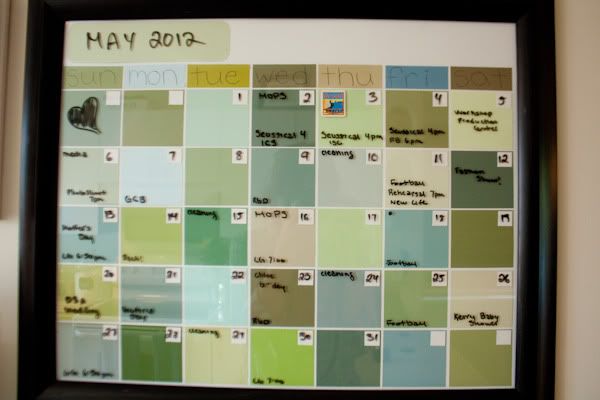
And the finished calender up close. I would have loved to stamp the days of the week, but don't own any alphabet stamps and ended up writing them in chubby lowercase letters. I am THRILLED with how it turned out.


4 comments:
Great idea! Hope you don't mind if I pin it!
This is awesome! Love it!
Great idea and super cute!
Thanks Christy! I'm going to make one too!
Post a Comment