I've had this on the go for a few weeks (try finding an NICE oval picture frame.....ANYWHERE) but I'm so stoked to post the finished product!
I got the idea from Meghan over at Life On Base and I got started on a silhouette for Denay almost right away.
I'll walk you through the process I took.
Step One: Get your little one to stand facing perpedicular to you and somehow (I got Denay to look at the cat) get them to stand still long enough to get a good side proflie shot.
Step Two: I uploaded the photo into Picasa and then into Picnik and used the "Pencil Sketch" effect. I then exported the photo back into Picasa and increased the shadow and black to get a nice defined outline.
Step Three: I originally ordered an 8x10 from Walmart and had the whole thing done and ready to go but when I finally found a frame, it was too big. So I re-ordered it from London Drugs in a 6x8. Trace an outline around your kiddo's sweet little head (to give yourself a guideline) and then cut (VERYcarfeully) just inside the line.
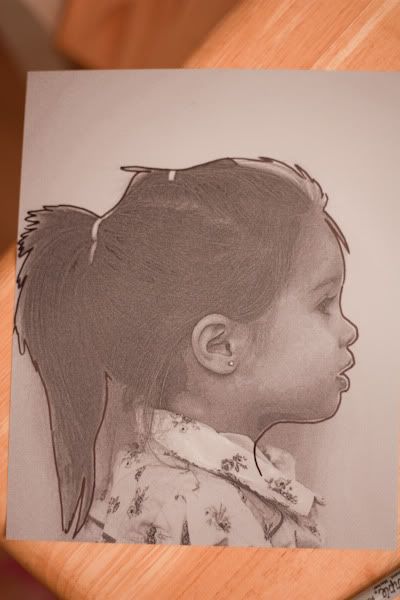
Step Four: Take that cut out piece and trace (lightly) the outline onto a piece of cardstock. I wanted my silhouette to face right, so I traced it facing left, so when I cut it out again, I could flip it over to a clean side without any pencil/pen marks. Then, you will wind up with this.....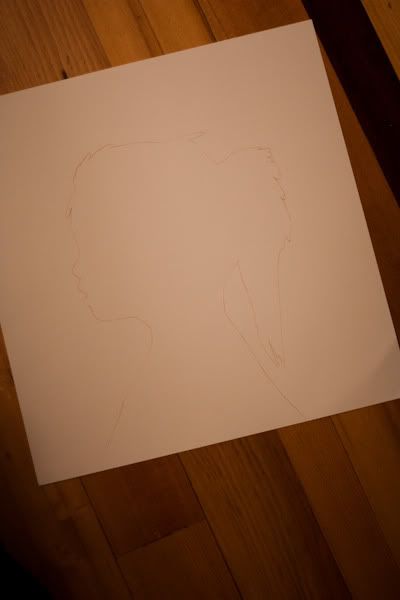
Once you have it traced, cut it out (again, very carefully) and flip it over!
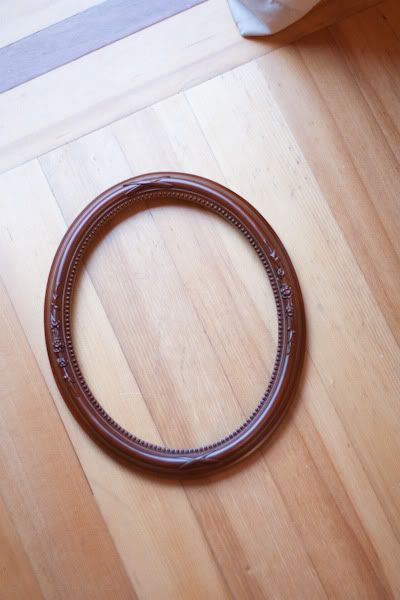
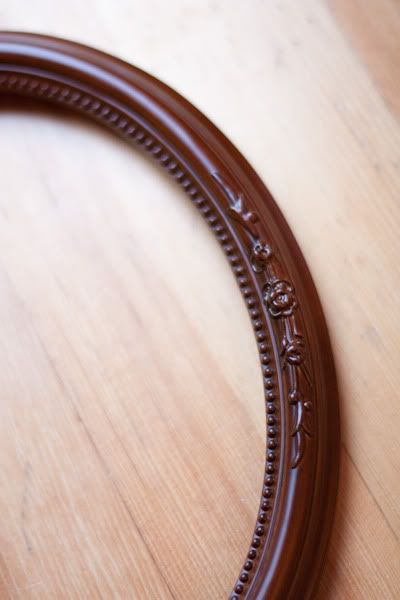
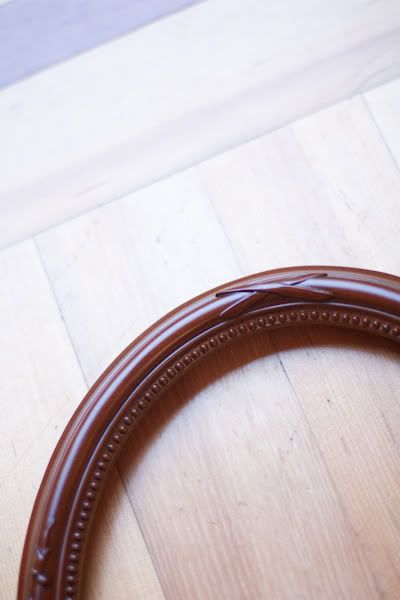
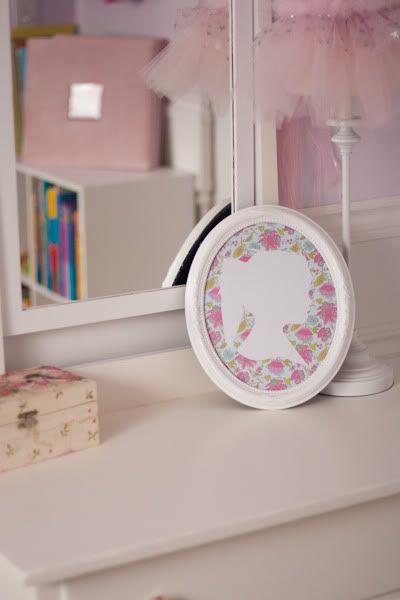
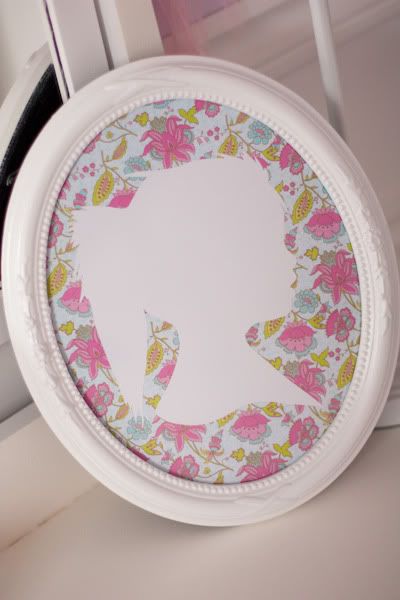
Here is frame I eventually settled one. I really had my heart set on an oval one from the beginning and thought finding an ugly one I could paint in a thrift store would be easy. WRONGO. I ended up finding this one at Black's for $20 and even though I spent about $19 more than I wanted to, with a few coats of white paint, it was everything I had been envisioning.
Ta...DA! I am thrilled with how it turned out. Knowing I wanted it to go in Denay's room, I opted to do it with white cardstock instead of black and used a fabulous piece of scrapbooking paper to back it.
Super easy, super cute and something you can do in the evening while watching a movie and the kids are in bed....
**Also, be sure to check out this post for your chance to enter and win a free GoGo!**




6 comments:
Looks great, Christy!
love it! she is so beautiful:)
Wow Christy! What a keepsake for Denay and what a fun project! Thanks for the step-by-step on how to make it!
such a cool project! Your little girls are so lucky to have such a crafty mama!
A.D.O.R.A.B.L.E!!!!! Love it! Great job. :)
I really like that, and I have always wondered about doing that for my kids. However, with six kids, I may have to take my time with the process!
Super cute idea! Thanks for sharing Christy!
Post a Comment